thepro bulkhead
Your problem solver for large construction sites and gap filling.
The thepro bulkhead is installed in front of the shoring,
without additional costs for straightening the substrate.

thepro bulkhead mounting bar
For fixing thepro
elements vertically to the shoring
thepro insulating sealing elements (DDE)
Produced to the exact height of your cellar
thepro bulkhead spacer
To maintain the planned wall thickness when filling the cavity for shoring
thepro bulkhead U-profile
For aligned installation of thepro elements, for fastening to a clean layer
wolfseal KB 16
Metal waterstop for sealing
construction joints
thepro insulating sealing elements (DDE)
Also suitable for use under the floor slab

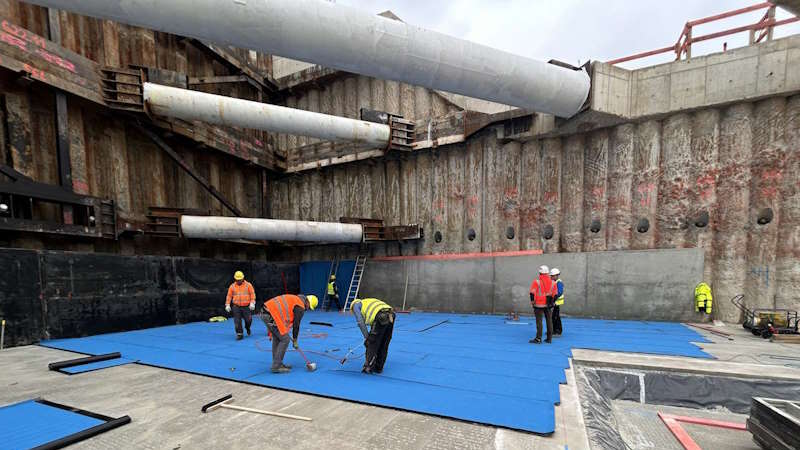
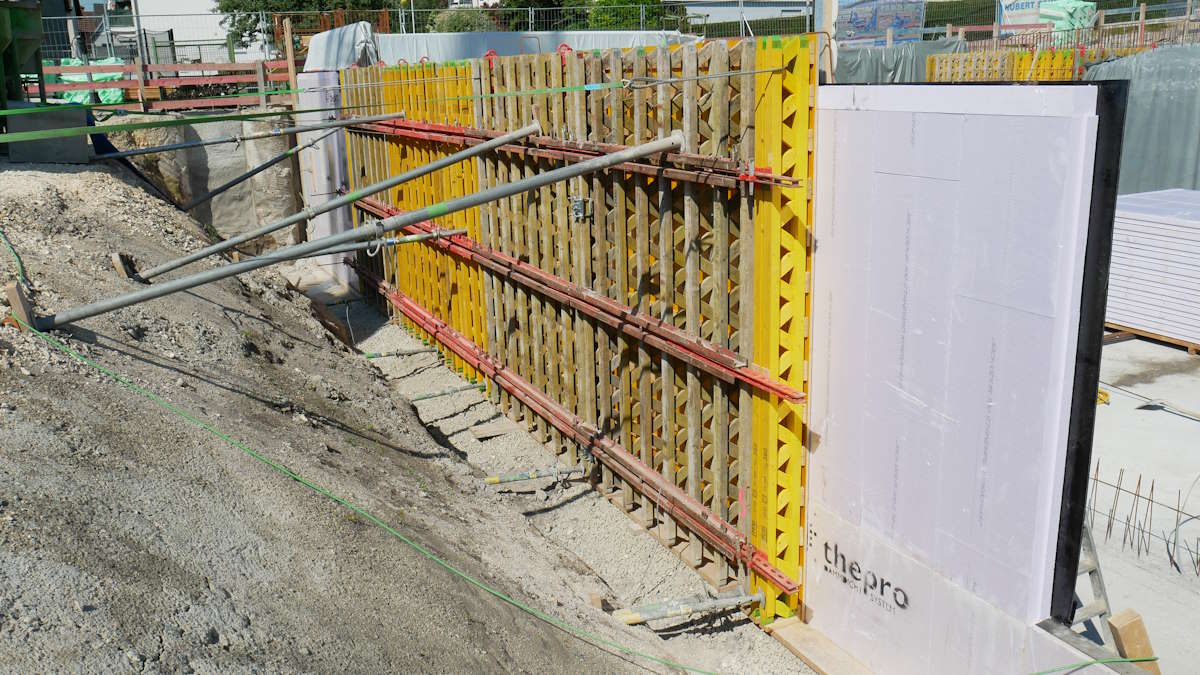
The 2.40 m wide elements are simply placed in a U-profile attached to the substrate (see photo 1) and then attached to the shoring using the mounting rod (see photo 2). A working space between the shoring and thepro shell is not required for this.
After the reinforcement of the floor slab has been installed, the cavity between the shoring and thepro bulkhead is filled with sand, gravel or suitable filling material up to the top edge of the floor slab.
The thepro shell is thus sturdily braced to withstand the concrete pressure of the floor slab.

1st U-profile at the base

2. mounting rod
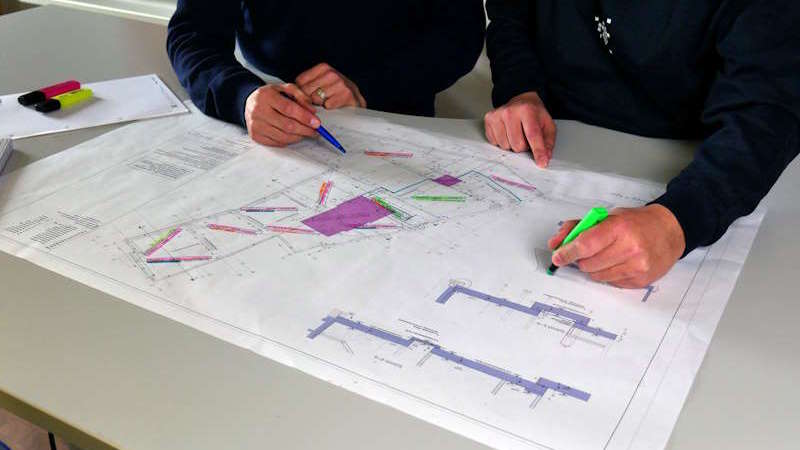
When the wall reinforcement is installed, thepro spacers are integrated into the reinforcement in a grid of approx. 45cm / 45cm (see photo 3).
After a single-sided formwork has been closed on the inside of the wall, the remaining gap between the shoring and thepro element is also filled with gravel or suitable filling material (see photo 4).
The spacers inserted between the reinforcement are now supported against the single-sided formwork and thus ensure that the subsequent wall thickness is precisely maintained.
The concreting and stripping of the walls corresponds to the conventional working method.

3. spacer

4. filling the gap
_g")
FBV waterproofing membrane, thermal insulation and formwork in one system
Saves any substrate preparation on vertical shoring
Significant time and cost savings
Suitable for exposed concrete
Mounting thepro bulkhead

The excavation pit is prepared with a level clean layer. The planned concreting sections are taken into account using (lost) formwork (up to the outer edge of the insulation). It is also possible to install the formwork later, e.g. by tilting the formwork with the shoring.
")
The U-profile must be fixed flat on the cleanliness layer (fixing not included in the scope of delivery). The high stop sash defines the outer edge of the insulation.
")
The thepro elements are placed on the U-profile.
")
The thepro elements are attached to the stop sash of the U-profile from the inside. The small fixing bracket presses into the thepro element and fixes it in place.
")
The thepro elements are fixed in place with the mounting rods. The front part of the mounting rod is fixed to the thepro element using an insulation plug (bit: TX 40). The rear part of the mounting rod is fixed to the shoring using suitable fixing material (not included in the scope of delivery). For vertical installation, the mounting rod is adjusted to the required dimension using the split pin lock.
")
Each thepro element is attached to the side with 2 mounting rods.
")
In the direction of installation, the panels are mounted vertically using 2 mounting rods. On the other side, the panels are welded to the previous panel.
")
The operations are repeated.
")
The floor slab is conventionally reinforced. Additional spacers are installed at the front of the floor slab.
")
The cavity between the shoring and thepro bulkhead is filled with gravel or single grain concrete up to the top of the floor slab.
The filling must not be compacted.
")
The floor slab is concreted.

The spacers are installed between the inner and outer reinforcement and define the exact wall thickness. The support surfaces are installed on the outside and the plastic caps on the inside. To ensure speedy installation, the spacers are supplied on rails.
")
The outer reinforcement layer is installed conventionally. The spacers are then installed in a 45 cm x 45 cm grid and connected to the outer reinforcement layer (e.g. with binding wire).
")
Once all the spacers have been installed, the inner reinforcement layer is installed. The spacers are also connected here. The spacer must be installed at a 90° angle to the thepro elements. The position must also be maintained under the pressure generated when backfilling the bulkhead.
")
The wall is closed with single-sided formwork.

The cavity between the shoring and thepro bulkhead is filled with gravel or single grain concrete up to the top of the wall. The filling material must not be compacted. The wall is then concreted.
")
Finished concrete wall after stripping the formwork
Assembly video
thepro bulkhead
Watch a video of the installation of thepro bulkhead.
You might also be interested in
Are you planning a building and need support with waterproofing?
Then get in touch. We are happy to support you.

